Unlocking Fluid UIs: A Deep Dive into React Native Reanimated’s New Layout Animation API
In the competitive landscape of mobile applications, a smooth and intuitive user experience is no longer a luxury—it’s a necessity. Animations play a pivotal role in creating this experience, providing visual feedback, guiding user attention, and adding a layer of polish that separates a good app from a great one. For developers in the React Native ecosystem, Reanimated has long been the gold standard for creating performant, complex animations. The latest React Native Reanimated News brings a revolutionary update that promises to fundamentally change how we approach UI animations, making them more accessible, powerful, and easier to implement than ever before. This is significant React Native News for anyone building with the framework, including the vast community of Expo News followers.
This update introduces a declarative Layout Animation API, a paradigm shift away from the often-complex imperative methods of the past. It directly addresses one of the most challenging aspects of mobile animation: animating components as they enter, exit, or change their position in the layout. What once required manual calculations, complex state management, and significant boilerplate can now be achieved with a single prop. This article will provide a comprehensive exploration of this new API, from its core concepts to advanced techniques and best practices, empowering you to build the fluid, dynamic interfaces that users love.
From Imperative to Declarative: The Core Concept
To truly appreciate the significance of this update, we must first understand the problem it solves. The new Layout Animation API represents a fundamental shift in thinking about how animations are tied to the component lifecycle and layout flow.
The Old Way: The Pain of Manual Calculations
Previously, animating a component’s layout changes in Reanimated involved a more hands-on, imperative approach. A developer would typically use hooks like useAnimatedStyle to track properties such as height, width, or position. When an item was added to a list, you would need to manually trigger an animation using withTiming or withSpring to transition its height from 0 to its final value. Animating its exit was even more complex, often requiring you to keep the item in the state for a short period after it was “removed” just to play the exit animation. This led to complex logic that was difficult to maintain and debug, especially in dynamic lists or grids. It was a common pain point for developers, regardless of the state management library they were using, be it Redux News, Zustand News, or Recoil News.
The New Way: Introducing the Layout Animation API
The new API flips this paradigm on its head. Instead of telling Reanimated how to animate each property step-by-step, you simply declare what should happen when a component’s layout status changes. This is accomplished through three new props on Animated components:
- entering: Defines the animation that runs when a component is first mounted or added to the view hierarchy.
- exiting: Defines the animation that runs when a component is about to be unmounted or removed. Reanimated handles the lifecycle complexities for you.
- layout: Defines the animation for any changes to the component’s size or position caused by layout updates (e.g., a sibling component being removed).
By simply attaching these props, you offload all the heavy lifting to Reanimated’s native UI thread, ensuring buttery-smooth animations. Let’s see how simple it is to animate a new item appearing on the screen.
import React, { useState } from 'react';
import { View, Button, StyleSheet } from 'react-native';
import Animated, { FadeIn, Layout } from 'react-native-reanimated';

export default function BasicLayoutAnimation() {
  const [show, setShow] = useState(false);

  return (
    <View style={styles.container}>
      <Button title="Toggle Box" onPress={() => setShow(!show)} />
      {show && (
        <Animated.View
          style={styles.box}
          entering={FadeIn.duration(500)}
          layout={Layout.springify()}
        />
      )}
    </View>
  );
}

const styles = StyleSheet.create({
  container: {
    flex: 1,
    alignItems: 'center',
    justifyContent: 'center',
  },
  box: {
    width: 100,
    height: 100,
    backgroundColor: 'tomato',
    margin: 20,
  },
});
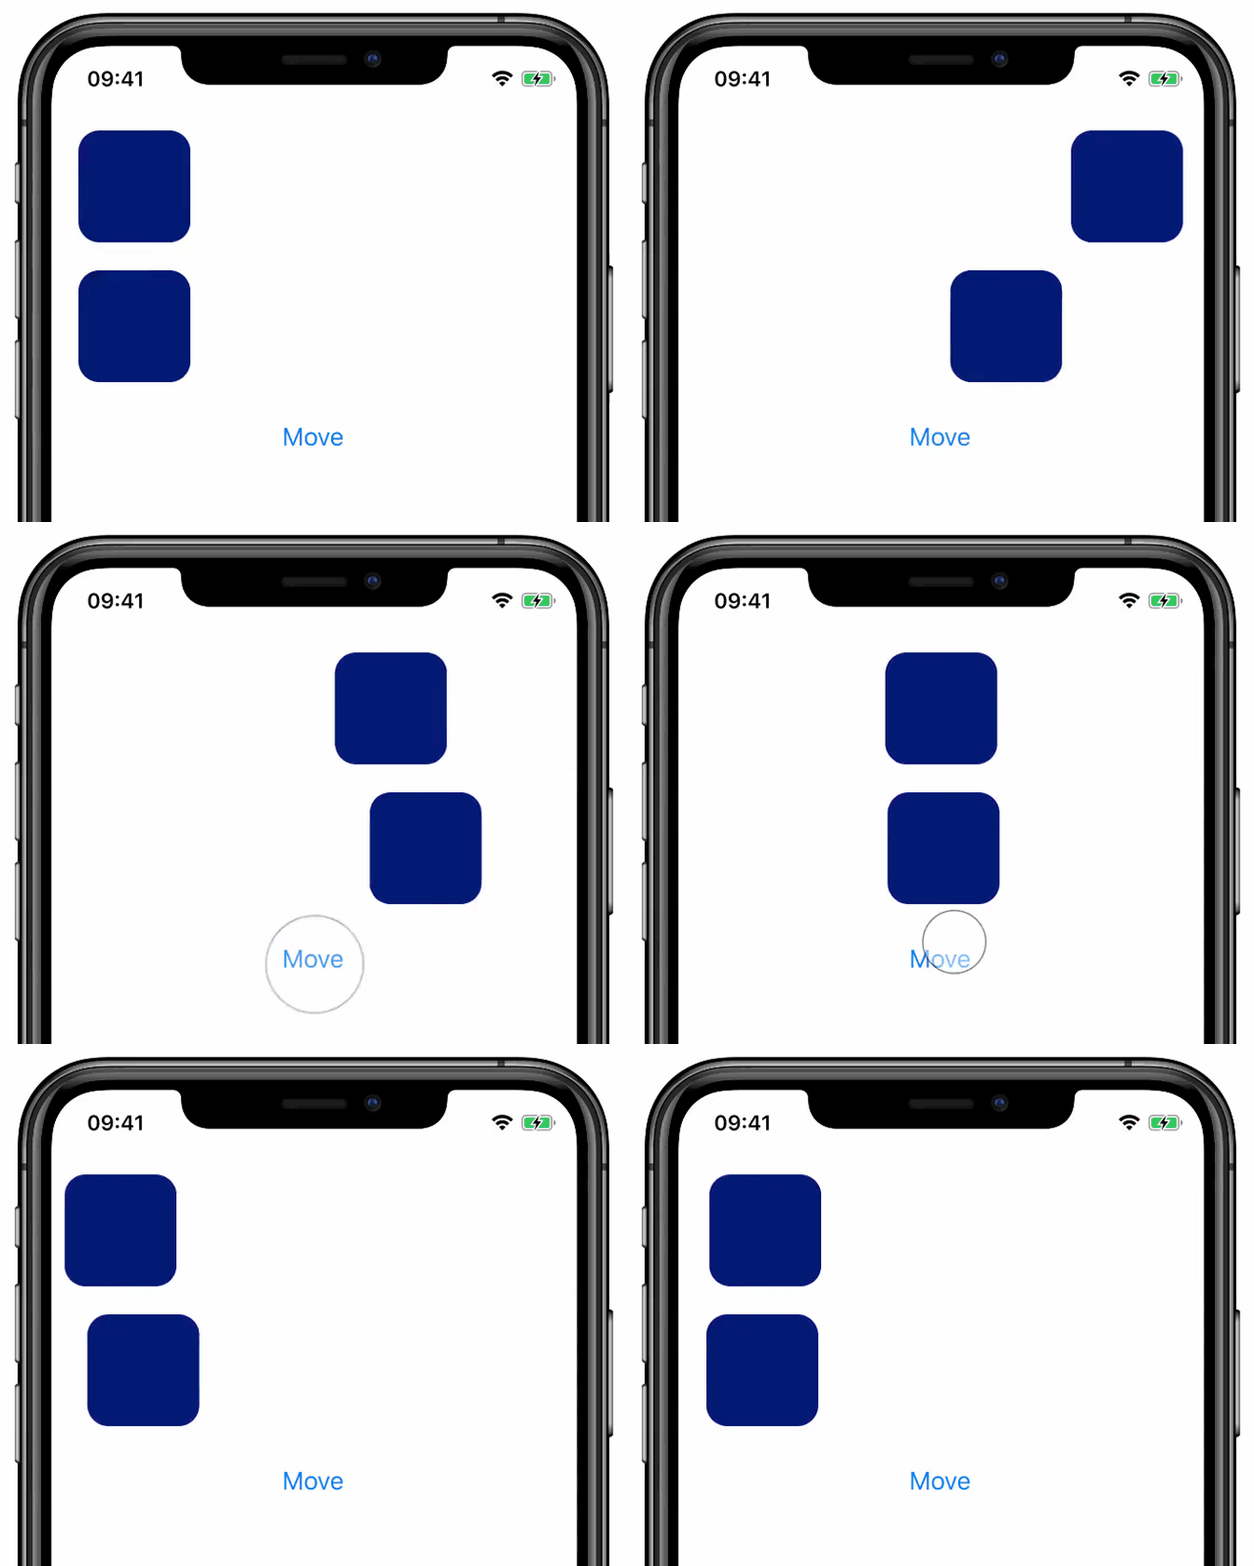
In this example, when the box is shown, it automatically fades in over 500 milliseconds. If other elements were on the screen, the layout={Layout.springify()} prop would ensure they smoothly animate to their new positions to make room for the box. This is the power of declarative animations.
Putting It to Work: A Practical Guide
The true potential of the Layout Animation API shines when applied to dynamic user interfaces, such as lists, grids, or notification systems. Let’s build a more practical example of a dynamic list where items can be added and removed, a common feature in many applications.
Animating List Items Seamlessly
Consider a simple to-do list. When a user adds an item, we want it to slide in gracefully. When they remove it, it should slide out, and the remaining items should smoothly reshuffle to fill the empty space. With the new API, this complex interaction becomes trivial to implement.
import React, { useState, useCallback } from 'react';
import { View, Button, StyleSheet, Text, TouchableOpacity } from 'react-native';
import Animated, { SlideInLeft, SlideOutRight, Layout } from 'react-native-reanimated';

let nextId = 1;

export default function DynamicListAnimation() {
  const [items, setItems] = useState([]);

  const onAdd = useCallback(() => {
    setItems((currentItems) => [...currentItems, { id: nextId++ }]);
  }, []);

  const onRemove = useCallback((itemId) => {
    setItems((currentItems) => currentItems.filter((item) => item.id !== itemId));
  }, []);

  return (
    <View style={styles.container}>
      <Button title="Add Item" onPress={onAdd} />
      <View style={styles.listContainer}>
        {items.map((item) => (
          <Animated.View
            key={item.id}
            entering={SlideInLeft}
            exiting={SlideOutRight}
            layout={Layout.springify().delay(100)}
            style={styles.listItem}
          >
            <TouchableOpacity onPress={() => onRemove(item.id)}>
              <Text style={styles.itemText}>Item {item.id} (Tap to remove)</Text>
            </TouchableOpacity>
          </Animated.View>
        ))}
      </View>
    </View>
  );
}

const styles = StyleSheet.create({
  container: {
    flex: 1,
    paddingTop: 50,
  },
  listContainer: {
    marginTop: 20,
  },
  listItem: {
    height: 50,
    backgroundColor: '#61dafb',
    width: '90%',
    marginVertical: 8,
    borderRadius: 5,
    alignSelf: 'center',
    justifyContent: 'center',
    paddingLeft: 20,
  },
  itemText: {
    color: 'white',
    fontSize: 16,
  },
});
Here, each list item is an Animated.View. The entering={SlideInLeft} prop makes new items slide in from the left. The exiting={SlideOutRight} prop handles their removal. Most importantly, layout={Layout.springify().delay(100)} ensures that when an item is removed, all subsequent items animate to their new positions with a satisfying spring effect. This level of polish, once a significant development effort, is now achieved with just three props. This is a huge win for developers using tools like React Query News or Apollo Client News to fetch and display dynamic lists of data.
Beyond the Basics: Customizing and Extending Animations
While Reanimated provides a rich set of predefined animations like FadeIn, SlideInUp, and ZoomOut, real-world applications often demand unique, custom-tailored animations. The Layout Animation API is fully extensible, allowing you to define your own entry, exit, and layout transitions.
Creating Custom Layout Animations
You can create custom animations by using the BaseAnimationBuilder class and chaining modifier methods like .duration(), .delay(), .springify(), or .withCallback(). For even more granular control, you can use the .build() method to define the animation’s behavior from scratch or use .keyframes() for complex, multi-stage sequences.
Let’s create a custom entry animation that scales in with a bounce effect.
import Animated, { BaseAnimationBuilder, Easing, Keyframe } from 'react-native-reanimated';

// Example 1: Using Keyframes for a custom bounce
const CustomBounceIn = new Keyframe({
  0: {
    transform: [{ scale: 0.5 }],
    opacity: 0,
  },
  60: {
    transform: [{ scale: 1.1 }],
    opacity: 1,
  },
  100: {
    transform: [{ scale: 1 }],
    opacity: 1,
  },
}).duration(600);


// Example 2: Using the builder pattern for a custom animation
class CustomRotateIn extends BaseAnimationBuilder {
  static createInstance() {
    return new CustomRotateIn();
  }

  build() {
    const delay = this.getDelay();
    const duration = this.getDuration();
    const easing = this.getEasing();
    const callback = this.getCallback();

    return (values) => {
      'worklet';
      return {
        initialValues: {
          transform: [{ rotate: '-90deg' }, { scale: 0.5 }],
          opacity: 0,
        },
        animations: {
          transform: [
            { rotate: withTiming('0deg', { duration, easing }) },
            { scale: withTiming(1, { duration, easing }) },
          ],
          opacity: withTiming(1, { duration: duration * 0.8 }),
        },
        callback: callback,
      };
    };
  }
}

// Usage in a component:
// <Animated.View entering={CustomBounceIn} />
// or
// <Animated.View entering={CustomRotateIn.duration(800).delay(200)} />
This snippet demonstrates two powerful ways to create bespoke animations. The keyframe approach is intuitive for designers and developers familiar with CSS animations, while the builder class offers maximum control for programmatic, physics-based transitions. This flexibility ensures you’re never limited by the library’s defaults.
A Glimpse at Shared Element Transitions
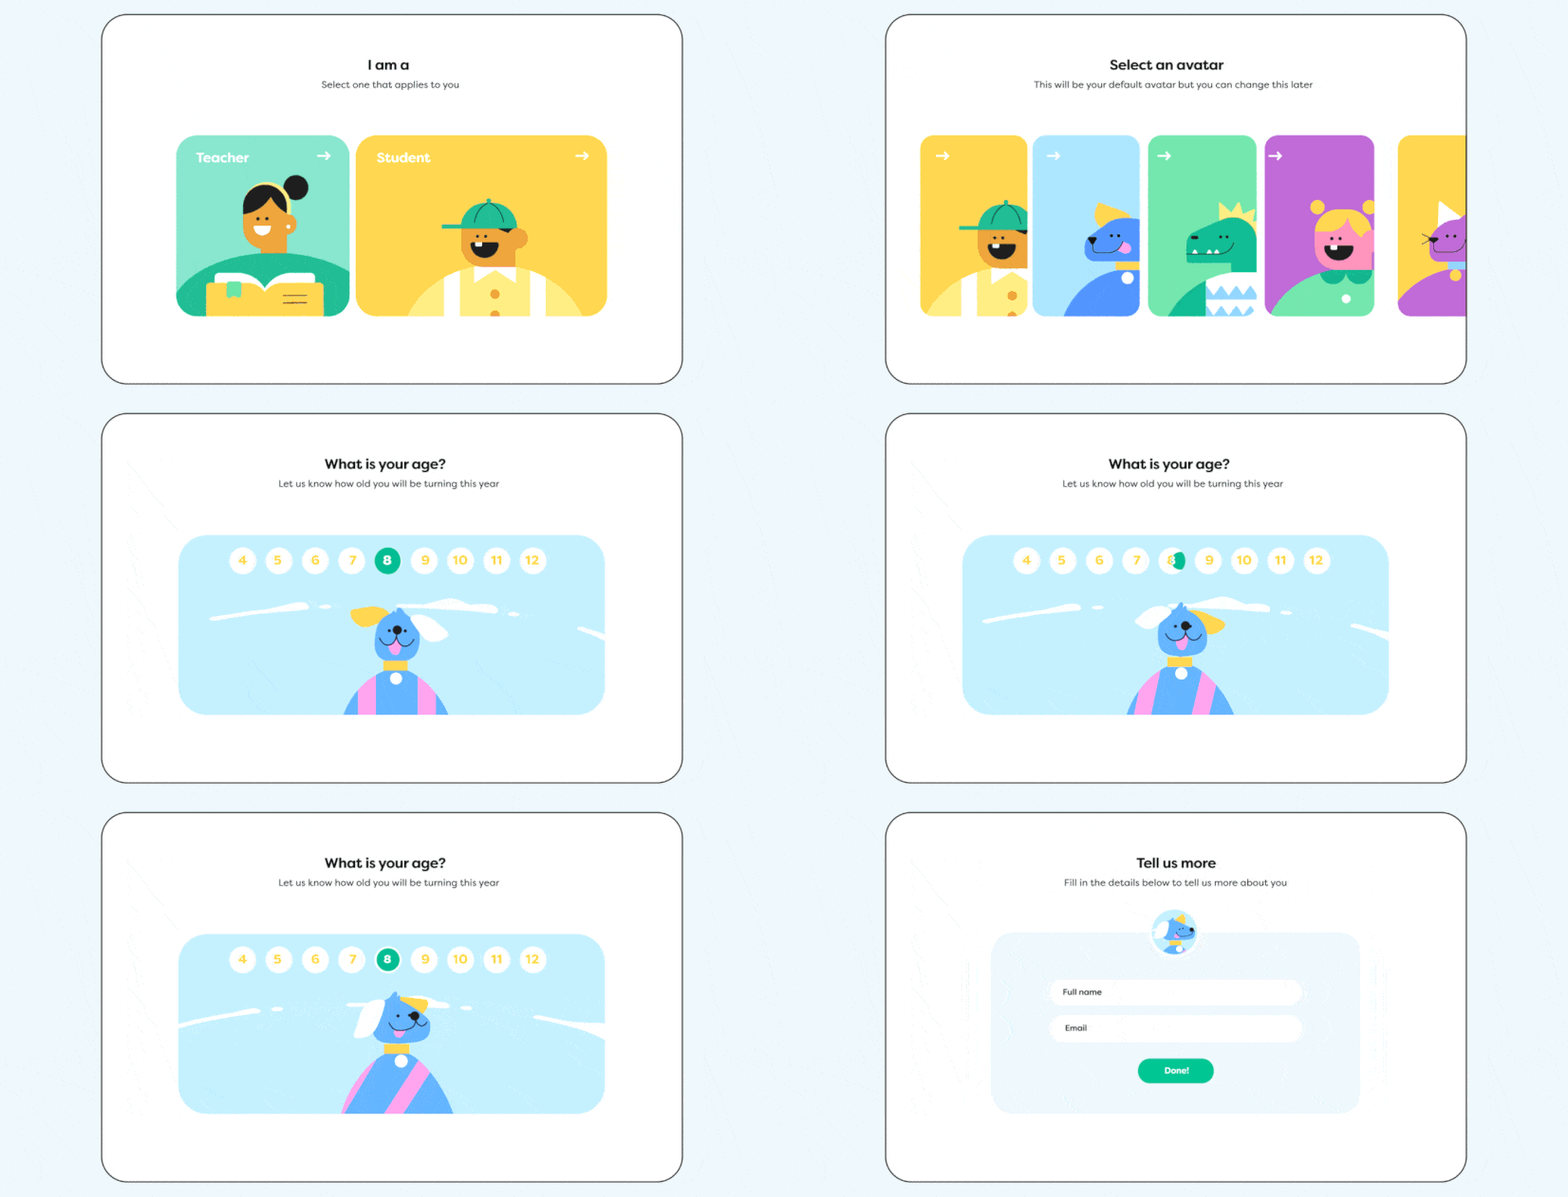
One of the most exciting frontiers this new API unlocks is simplified Shared Element Transitions. This is a common pattern where an element (like an image) appears to seamlessly transition from a list view on one screen to a detail view on another. The latest React Navigation News often highlights the community’s desire for a simpler solution to this challenge. The Layout Animation API provides the foundation with the sharedTransitionTag prop.
// --- Screen 1: List View ---
<TouchableOpacity onPress={() => navigate('DetailScreen', { id: item.id })}>
  <Animated.Image
    source={{ uri: item.imageUrl }}
    style={styles.thumbnail}
    sharedTransitionTag={`image-${item.id}`}
  />
</TouchableOpacity>


// --- Screen 2: Detail View ---
<Animated.Image
  source={{ uri: item.imageUrl }}
  style={styles.fullImage}
  sharedTransitionTag={`image-${item.id}`}
/>
By assigning the same unique sharedTransitionTag to two Animated components on different screens, Reanimated can automatically create a smooth, morphing animation between them during navigation. This feature, built on top of the Layout Animation engine, drastically simplifies what was once one of the most difficult animations to implement in React Native.
Best Practices and Performance Considerations
While the new API is incredibly powerful, it’s important to use it correctly to ensure optimal performance and maintainable code. This is crucial for developers building complex applications and component libraries, such as those contributing to React Native Paper News or Tamagui News.
When to Use (and Not Use) Layout Animations
The Layout Animation API is specifically designed for animating layout changes triggered by the component tree—mounting, unmounting, and re-ordering. It is the perfect tool for lists, grids, modals, and notifications.
However, for animations that are driven by continuous user input, such as gesture-based interactions (dragging, pinching) with react-native-gesture-handler, or animations tied to scroll position, the classic useAnimatedStyle and useAnimatedGestureHandler hooks remain the appropriate tools. The key is to choose the right tool for the job: use layout animations for discrete state changes and imperative hooks for continuous, interactive animations.

Performance on the UI Thread
A core benefit of Reanimated has always been its ability to run animations on the native UI thread, completely independent of the JavaScript thread. This prevents animations from stuttering even if the JS thread is busy with business logic or complex renders. The new Layout Animation API is built entirely on this principle. All calculations and animations happen natively, guaranteeing 60 or 120 FPS performance. This is a key differentiator from web-based animation libraries and a major reason why developers choose React Native for high-performance apps. It’s a standard of quality that developers coming from the web ecosystem, with its rich tooling like Next.js News, Remix News, and Framer Motion News, have come to expect.
Testing Your Animations
With animations becoming a core part of your application’s logic, testing is essential. For end-to-end testing, tools like Detox News allow you to write tests that can verify the state of your UI after an animation has completed. For component-level testing and visual regression, Storybook News is an invaluable tool for isolating and perfecting your animated components in various states, ensuring they behave as expected across devices and updates.
Conclusion: A New Era for React Native Animations
The introduction of the declarative Layout Animation API in React Native Reanimated is more than just an update; it’s a paradigm shift. It dramatically lowers the barrier to entry for creating complex, fluid, and performant UI animations, empowering developers to build user experiences that rival the best native applications. By abstracting away the complexities of layout calculations and lifecycle management, it allows us to focus on what matters most: the user’s delight.
The key takeaways are clear: embrace the declarative power of the entering, exiting, and layout props for all your layout-driven animation needs. Explore the customization options to bring your unique brand identity to life through motion. And get excited for the future, as this API paves the way for even more powerful features like seamless Shared Element Transitions. This is fantastic React News for the entire community. We strongly encourage you to update to the latest version of react-native-reanimated, explore the official documentation, and start integrating these powerful new tools into your projects today.


